We use cookies to enhance your experience. By continuing to visit this site, you agree to our use of cookies.
A Manus response is only "delivered" if it goes through Humatron MCP. Replies inside Manus alone are invisible to the user. If this end-to-end loop is not closed, the AI worker is effectively silent.
This two-stage approach allows you to concentrate most of the capabilities in a shared build ensuring functional consistency across workers - while at the same time allowing for individual customization to meet specific employer's needs.
NOTE:Avatar image must be a square of at least 96px size or larger. 512px size or larger if using Slack. 2 MB maximum file size.
AGENT.md, SOUL.md or SKILL.md file) and provide an initial detailed operating handbook, e.g. employee handbook, for the main functional responsibilities of this AI worker. Each functional job area should be described in sufficient detail - in the same way as it would be described to a junior level human employee. These instructions will be integrated into the overall context for Manus agent and should be modelled similar to a well organized reasoning prompt."humatron-agent-mcp" as custom MCP connector. This MCP connector exposes Humatron functionality to Manus agent allowing it to use built-in Humatron capabilities and access Humatron data."humatron-agent-mcp" as well as UUIDs of all other custom MCP connectors added on the Manus side that you want to use for this build. If custom MCP connector UUID is not listed here, it will not be available to the Manus-based AI worker.& MCP Servers »"humatron-agent-mcp" MCP server (part of Manus agent integration) that exposes Humatron functionality to Manus agentStart Small&Increment
Ensuring conflict-free operation between multiple sets of tools is not trivial. Start with a minimal number of custom tools that you do not expect to conflict with each other. Add custom tools gradually and use agent evaluations to test. Develop and test them in isolation.
Important considerations:
- This feature prevents multiple hires of the same build by a single employer, as it would create duplicate identities.
- If you choose to restrict social attribute modifications, you must provide default values for these properties in your build configuration.
& Hire 🚀 »public (published on the marketplace) - there is no way to force a restart of the existing AI workers of this build.public build configuration will apply to new AI workers only.Note:
- Even if the build has no AI workers created off it yet - it will still incur some (minimal) credit consumption.
Livelive status. This is the normal status for the build when all permitted operations on the build are available.Pausedlive status.Suspendedlive status. If your build is suspended - contact Humatron support team at support@humatron.ai for more details.Removedbuilder publishing mode. This is the mode where only the builder (the user that created the build) can hire the build. Build can be published between different modes where each mode has different visibility and cost profile:| Build Mode | Who Can Hire | Use Case | Cost Margins | Commission on Hire |
|---|---|---|---|---|
Builder | Builder only | Development, testing, prototyping | Low | None |
Private | Builder's company | Internal AI workers for company use | High | None |
Public | Anyone | Marketplace - builder sets the price per hire | Medium | 20% per hire (80% paid to builder) |
builder publishing mode, margins are minimized to reduce iteration cost during development. In private mode (company use), margins are higher to reflect production-grade reliability and support, while remaining commission-free. In public mode (marketplace), medium margins apply - covering production-grade reliability and scalability, yet accounting for the 20% per-hire Humatron commission.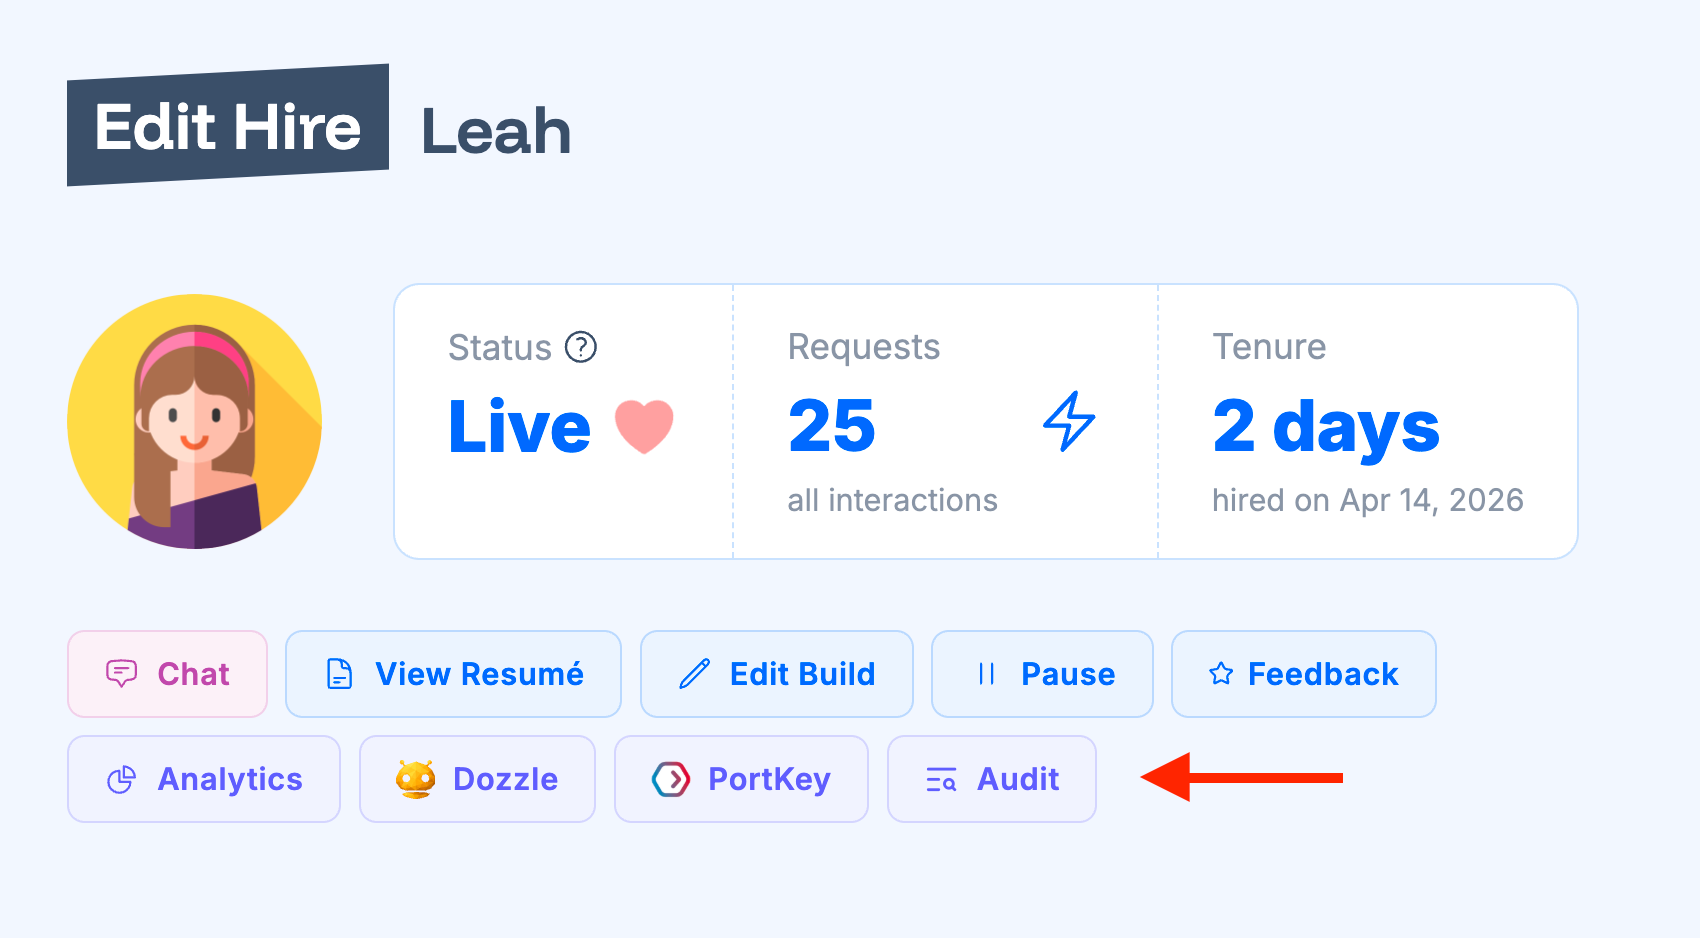
'Edit' button next to the AI worker instance (hire) and on 'Edit Hire' form you will see 'Audit' button.'Dozzle' button that opens built-in Dozzle monitoring dashboard. You can find Dozzle & SSH passwords and usernames in the same 'Edit Hire' form.'Organization' page. Once configured, you can see 'PortKey' button on hire and built edit forms that will navigate to the PortKey dashboard.